Printing professional-looking photos at home used to sound like a dream reserved for tech geeks or photography pros. But the truth is, How to Print Stunning Photos at Home is not only possible—it’s easier than you think. Whether you are capturing cherished memories, creating art, or crafting DIY projects, you don’t need a studio or expensive equipment to achieve brilliant results. In this ultimate DIY photo printing guide, you will learn step-by-step techniques, expert home photo printing tips, and affordable tools that will help you print high quality photos at home—without breaking the bank.
Why Print Photos at Home?
Before we get into the how-to tips, let’s first understand the benefits of printing photos at home:
- Convenience – No need to run to a store or wait for delivery.
- Customization – Control the size, quality, and style.
- Cost-Effective – Long-term savings once you’ve set up.
- Creative Freedom – Use your photos for scrapbooks, decor, gifts, and more.
And the best part? You can make it all happen with just a few essentials.
What You Need to Get Started
Getting started with printing high-quality photos at home doesn’t have to be overwhelming or expensive. With just a few essential tools, you can bring your digital memories to life right from your desk. Here’s a quick and practical checklist of what you will need to make your home photo printing setup a success:
1. A Good Inkjet Printer
You don’t need a top-of-the-line printer to create beautiful photo prints. Many affordable inkjet models today are designed specifically for home photo printing and deliver impressive results. When choosing a printer, keep an eye out for these essential features:
- Borderless Printing – This allows for edge-to-edge printing without white borders, resulting in a professional finish.
- High DPI (dots per inch) – Aim for at least 1200 x 1200 DPI. Higher resolution produces clearer, more detailed, and sharper images.
- Photo Paper Compatibility – Be sure your printer can handle different photo paper types and thicknesses.
✅ Tip: Canon PIXMA and Epson EcoTank series are well-known for producing rich color output and offering excellent value. The EcoTank series also comes with refillable ink tanks, which can be more economical in the long run.
2. High-Quality Photo Paper
The paper you use can dramatically change how your photo looks once printed. Photo paper is specially coated to absorb ink without smudging and to produce vibrant, accurate colors. Here are the most common types:
- Glossy Paper – Perfect for photos with lots of color and detail; it produces a shiny, polished finish.
- Matte Paper – Best for black-and-white prints, soft tones, or when you want a more artistic, non-reflective look.
- Satin or Luster Paper – A middle ground between glossy and matte, offering rich color without too much shine.
✅ Home printing tip: Choose the paper finish that complements the mood or purpose of your photo. For example, glossy is great for family portraits and travel shots, while matte is ideal for scrapbook pages.
3. Reliable Ink
Ink plays a crucial role in how your printed photo turns out. It’s tempting to go for cheaper generic cartridges, but original ink from the printer’s manufacturer often yields better results. Why?
- Color Accuracy – Original ink is formulated to work with your printer’s settings.
- Longer-Lasting Prints – Authentic ink resists fading over time better than generic alternatives.
- Less Risk of Clogs or Damage – Using the wrong ink can damage your printer or cause frequent maintenance issues.
✅ Pro tip: Buy ink in bundles or subscribe to auto-refill plans to save money while ensuring consistent quality.
4. Calibration Tools (Optional but Helpful)
Ever noticed that your printed photo looks different from what you saw on screen? That’s usually a color calibration issue. A simple calibration tool or software can align your monitor’s colors with your printer’s output.
- Free Tools: Many online tools help you adjust brightness, contrast, and color manually.
- Hardware Calibrators: Devices like the Datacolor SpyderX or X-Rite ColorMunki are affordable and provide accurate results, especially if you print often or work with design.
✅ Final Tip: Take time to run a few test prints before committing to large batches. This helps you tweak settings, test paper types, and ensure everything looks just right.
With these essentials, you are ready to start printing stunning, frame-worthy photos at home—without the hassle or the high cost.
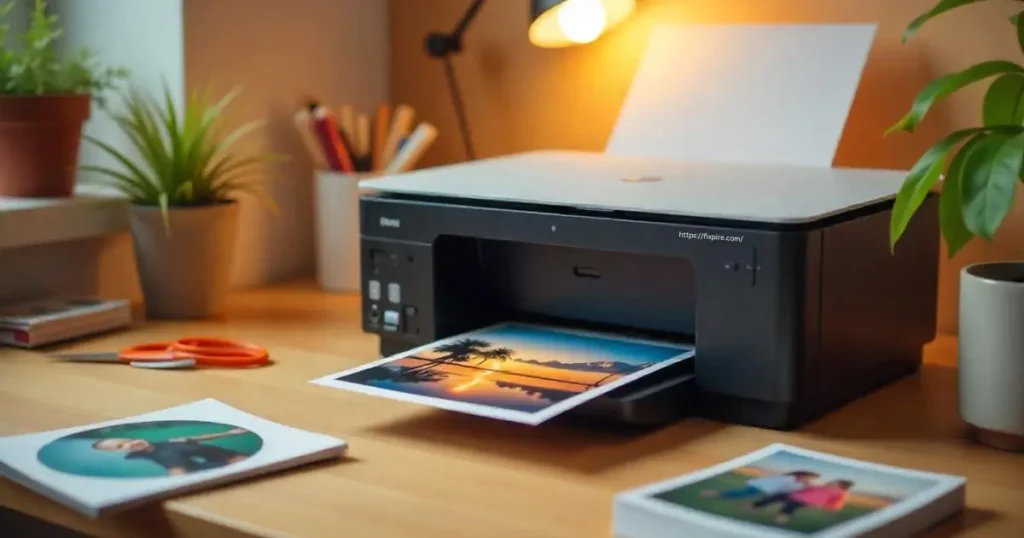
How to Print Stunning Photos at Home: Step-by-Step
Are you ready to bring your memories to life? Follow these simple steps to print high-quality photos at home: choose the right photo, edit for clarity and color, select proper settings on your printer, load high-quality photo paper, and let the printer work its magic. A few thoughtful tweaks can deliver truly stunning results every time.
1. Select the Right Photo
Start by picking a high-resolution image. For printing, resolution is key—your photo should ideally be 300 DPI (dots per inch) or higher. This ensures that the image retains detail and sharpness even when enlarged. Avoid using screenshots or low-quality downloads, as they tend to look pixelated and blurry when printed.
Photos taken with a good camera or a smartphone with a high-resolution sensor will usually meet this requirement. Choose an image that’s well-lit, well-composed, and clear to begin with—editing and printing can enhance it, but they can’t fix poor quality from the start.
2. Edit and Enhance Your Image
Before you hit print, take a few minutes to edit your photo. This step can dramatically boost the final outcome. Use software like Adobe Lightroom, Photoshop, Canva, or even free programs like GIMP or Snapseed.
Focus on basic edits:
- Fine-tune the brightness and contrast to enhance the image’s vibrancy.
- Enhance saturation or vibrance to make colors richer.
- Sharpen the image slightly to define edges.
- Crop or straighten if needed for better framing.
If you are printing in color, make sure your file uses the sRGB color profile, which most home printers and photo labs are optimized for. This will help your print match what you see on screen more closely.
3. Choose the Right Photo Paper
The type of photo paper you use has a big impact on the final look and feel of your print. Don’t overlook this step—photo paper isn’t just “paper.” It’s specially designed to absorb ink in a way that enhances detail and color vibrancy.
Here are your main options:
- Glossy paper produces bright, vibrant images with a shiny finish. Best for colorful photos.
- Matte paper gives a softer, elegant look with no glare. Great for black-and-white photos or artistic prints.
- Satin/luster paper is a balanced option with a slight sheen and reduced glare—ideal for portraits and general use.
Always use paper that’s compatible with your printer and designed for photo printing. Cheap or mismatched paper can cause ink smearing, dull colors, or paper jams.
4. Set Up Your Printer for Photo Quality
Printer settings matter more than you might think. Once you have selected your photo and paper, go into your printer’s settings (this will pop up when you press “Print”) and make the following changes:
- Select the correct paper type (e.g., glossy photo paper, matte, etc.).
- Set the print quality to High or Best for maximum detail.
- Enable borderless printing if you want your photo to fill the entire page without white edges.
- Turn off automatic color correction in the printer if you have already edited your image. Let either your editing software or your printer manage colors—but not both.
Each printer brand (like Canon, Epson, HP) may have slightly different terminology, but the principles are the same. Take your time to explore the options and save a preset for future photo prints.
5. Load the Paper Properly
This step may sound basic, but it’s often overlooked. Always load your photo paper correctly—typically with the printable side facing down or up depending on your printer’s design. The printable side is usually whiter and smoother. Check your printer’s manual to be sure.
Also, avoid touching the surface of the paper to prevent fingerprints or smudges, and make sure the paper lies flat in the tray.
6. Run a Test Print
Before using your good photo paper, run a test print on plain paper. This allows you to double-check the layout, sizing, and overall appearance. It’s a simple way to catch errors and save on ink and expensive paper.
7. Print and Let It Dry
Once everything looks good, print your final image on your chosen photo paper. Allow the photo to dry completely before touching or framing it—especially if you are using glossy paper, which can smudge if handled too soon.
Most inkjet prints dry within a few minutes, but it’s best to give them at least 15–30 minutes in a dust-free space.
✅ Bonus Tips for Best Results
- Calibrate your monitor using built-in or third-party tools to ensure the colors on your screen match your printed output.
- Use original ink cartridges from your printer’s brand. While generic ink can be cheaper, it often compromises quality and longevity.
- Store printed photos in albums, frames, or acid-free sleeves to protect them from fading over time.
With the right setup and some attention to detail, printing photos at home can be a fun and creative experience. Whether you are decorating your space, crafting gifts, or building a scrapbook, your memories will look better than ever—printed with love and professional-level clarity, right from your own printer.
Best Way to Print Pictures at Home Without Overspending
Everyone loves beautiful photos, but not everyone wants to spend a fortune to get them printed. Here’s how to keep quality high and costs low when printing pictures at home:
1. Use Refillable Ink Tank Printers
Invest in a printer that uses refillable ink tanks, like the Epson EcoTank or Canon MegaTank series. These printers cost more upfront, but their ink lasts significantly longer and is cheaper to refill compared to traditional cartridges. Over time, they save you a considerable amount of money—especially if you plan to print regularly.
2. Buy Photo Paper in Bulk
Buying photo paper in bulk is a simple yet effective way to cut down costs. Brands often offer discounts for large packs, especially online. Stick with a quality brand that works well with your printer to ensure consistent results.
3. Print Only When You’re Ready
Avoid unnecessary test prints. Carefully edit and preview your image before printing. Make all adjustments digitally and only hit “print” once you are confident in the final result.
4. Stick to Standard Sizes
Printing in standard photo sizes like 4×6, 5×7, or 8×10 helps reduce paper waste and makes framing easier and cheaper. Custom sizes often require custom paper cuts and custom frames, which can quickly increase costs.
5. Do Layout Test Prints on Regular Paper
Before using your precious photo paper, print your layout on regular paper. This helps you check sizing, borders, and positioning, saving expensive photo paper and ink if adjustments are needed.
Avoid These Common Mistakes When Printing Photos
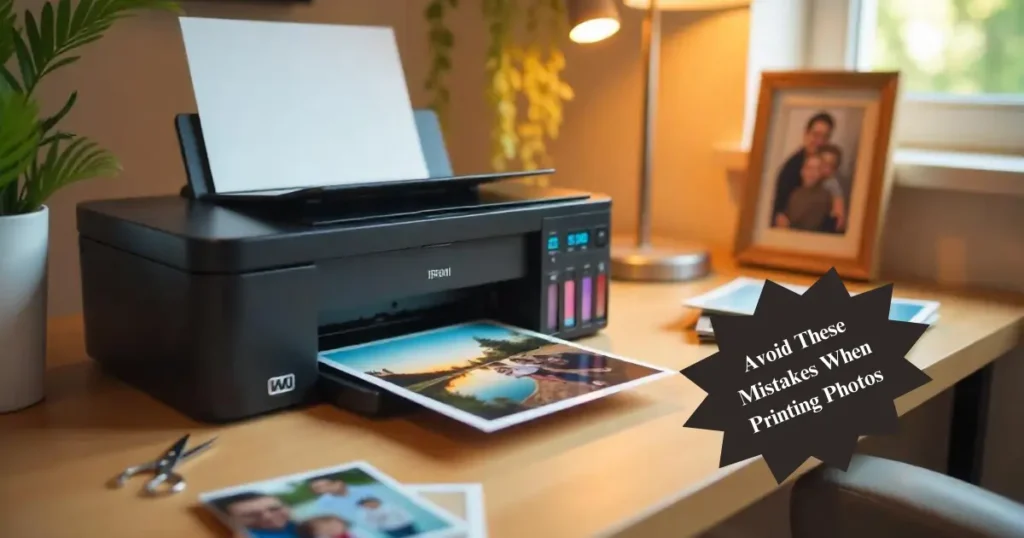
Even seasoned printers occasionally make errors that compromise print quality. Here are a few frequent mistakes along with tips to help you avoid them:
1. Over-Saturation
While vibrant colors are desirable, over-saturating an image can make skin tones look orange and unnatural. Use photo editing tools wisely to enhance without overdoing it. Subtle changes usually give better results.
2. Using the Wrong Paper Type
Every printer has specific settings for various paper types. If you are using glossy paper but the printer is set to plain, the ink distribution can be off, leading to dull, streaky, or grainy results. Always ensure the printer’s paper setting matches the type of photo paper you’re using.
3. Printing Low-Resolution Images
A common pitfall is trying to print images pulled from social media or old phones. These typically have low resolution and can appear pixelated when printed. Always make sure the image is set to 300 DPI for the clearest, sharpest print quality.
4. Dirty Printer Heads
Over time, printer heads can clog, especially if the printer sits unused. Dirty or clogged heads can cause lines, streaks, or color gaps. Run a maintenance or cleaning cycle regularly, especially before big print jobs.
Creative Ideas to Use Your Stunning Photo Prints
Now that you have got the technical part down, it’s time to have some fun. Here are a few creative ways to use your home-printed photos beyond the usual frame:
1. Memory Walls
Create a gallery wall at home using prints of your favorite moments. Mix photo sizes, styles, and frame types for a personalized collage. It’s a beautiful way to relive memories daily.
2. Scrapbooking
Turn your prints into a personal journal or scrapbook. Use decorative papers, stickers, and captions to capture stories behind each photo. It’s a great creative outlet and a meaningful keepsake.
3. Greeting Cards
Make your own cards by printing photos on foldable cardstock. Whether it’s for birthdays, holidays, or just to say thank you, personal photo cards are always appreciated.
4. Gift Tags and Wrapping
Add a thoughtful touch to presents by using mini photo prints as gift tags or decorative wrapping elements. It makes your gift more personal and memorable.
5. DIY Calendars
Create a custom calendar using photos from travels, family events, or themed collections. Print monthly pages and bind them together. These make for wonderful gifts and also look great on your own wall.
Eco-Friendly Tips for Home Photo Printing
Being environmentally conscious while printing photos is easier than you think. Here are a few eco-friendly printing habits:
1. Recycle Ink Cartridges
Many printer brands and office stores offer ink cartridge recycling programs. Don’t toss them in the trash—recycle to help reduce landfill waste.
2. Use FSC-Certified Paper
Choose FSC (Forest Stewardship Council) certified photo paper, sourced from responsibly managed forests—a small decision that makes a meaningful difference.
3. Print Only What You Need
Be selective and intentional. Don’t print duplicates or near-identical shots unless you have a clear use for them.
4. Use Energy-Efficient Printers
Choose printers with an ENERGY STAR rating. These printers consume less power and often include energy-saving features such as automatic sleep mode.
Expert Tips for Print Stunning Photos at Home
Let’s recap everything you have learned about printing high-quality photos at home without breaking the bank:
- Choose a high-resolution image. The better the photo quality, the better the print.
- Edit your image before printing. Adjust contrast, brightness, and saturation subtly.
- Use a reliable inkjet printer. Refillable ink tank printers like Epson EcoTank save money long-term.
- Match your printer settings to your paper. Always choose the appropriate paper type and quality setting in your printer options.
- Avoid rookie mistakes. Watch out for low-res images, wrong paper choices, and over-editing.
- Keep your printer clean. Perform maintenance checks and head cleaning regularly.
- Test your layout. Do dry runs on regular paper to avoid wasting photo paper.
- Let prints dry fully. Especially with glossy paper, avoid smudging by letting them dry in a clean space.
- Get creative. Use your prints for wall art, greeting cards, albums, and more.
- Stay eco-friendly. Recycle cartridges, use sustainable paper, and only print what you need.
Conclusion:
You don’t need a $500 printer or high-end equipment to turn your favorite memories into stunning prints. With a good-quality inkjet printer, the right photo paper, and a few smart techniques, you can easily create professional-looking photos right at home. This guide shows that DIY photo printing is not only cost-effective but also creatively fulfilling. It’s about more than saving money—it’s about enjoying the full experience of photography, from capture to print. So go ahead—preserve your special moments, print them with care, and treasure them for a lifetime. Your memories deserve to be seen, held, and celebrated beyond the screen.