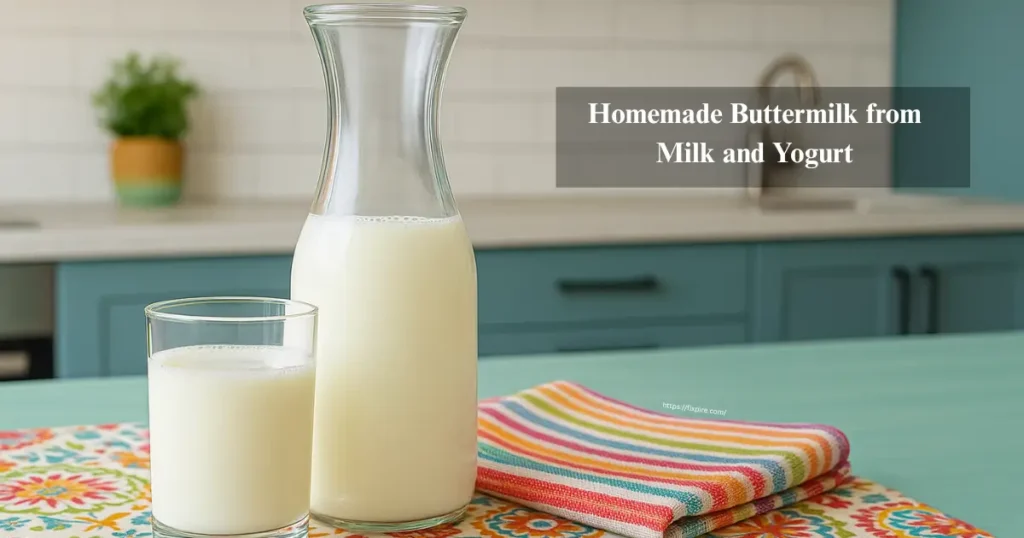
Have you ever started baking or cooking, only to find there’s no buttermilk in the fridge? Don’t worry—it’s very easy to make your own at home using just milk and yogurt. In this guide, we will show you How to Make Buttermilk from Milk and Yogurt using a quick and simple method that takes only a few minutes. It’s perfect for anyone who wants fresh, preservative-free buttermilk on demand. Whether you’re making pancakes, cakes, or marinades, this homemade version tastes just like store-bought—only fresher.
Why Make Buttermilk at Home?
Before diving into the steps, let’s understand why making buttermilk at home is so beneficial:
- Cost-effective: You save money compared to store-bought options.
- Freshness: Homemade buttermilk is free from additives and preservatives.
- Control: You can adjust the thickness and sourness based on your preferences.
- Convenience: No more last-minute grocery trips.
What is Buttermilk Exactly?
Traditional buttermilk is the leftover liquid that remains after churning butter from cultured cream. However, the version we make at home is a cultured buttermilk substitute, made by adding an acid (like lemon or yogurt) to milk. In our case, we’re using yogurt to keep it natural and creamy.
This process mimics the tangy flavor and acidity needed for recipes, making it an excellent substitute.
Ingredients You’ll Need
To make DIY buttermilk with yogurt and milk, you’ll need just two simple ingredients:
- 1 cup of full-fat or low-fat milk (room temperature is best)
- 2 tablespoons of plain yogurt (fresh and unflavored)
How to Make Buttermilk from Milk and Yogurt (Step-by-Step)
If you have ever needed buttermilk in a recipe but realized you don’t have any on hand, you’re not alone. Luckily, there’s a simple solution you can find right in your kitchen. Making buttermilk from milk and yogurt is not only simple, but also quick, cost-effective, and perfect for beginners. Let’s walk through the step-by-step method of how to make buttermilk from milk and yogurt in a simple, fast, and fuss-free way.
You don’t need any fancy tools or ingredients. In fact, you probably already have what you need: milk and plain yogurt. This homemade version of buttermilk works beautifully in recipes for pancakes, cakes, biscuits, marinades, and more. Now, let’s get started.
Step 1: Pour the Milk
To begin, take 1 cup of milk and pour it into a clean bowl, jug, or glass jar. Make sure the milk is at room temperature because that helps the yogurt cultures work more effectively and speeds up the fermentation process.
You can use whatever type of milk you have available. Full-fat milk will give you a richer and creamier buttermilk, while low-fat milk also works just fine if you prefer a lighter option. If your milk was in the refrigerator, leave it out for 10–15 minutes before starting this recipe.
Step 2: Add the Yogurt
Now, it’s time to add the key ingredient — yogurt. Add 2 tablespoons of plain yogurt (also known as curd in Indian kitchens) to the bowl of milk. Make sure to choose plain, unsweetened yogurt to get the best outcome. Flavored or sweetened yogurt will not give you the right tang or consistency and may affect the taste of your final recipe.
Fresh, active yogurt is ideal since it contains live cultures that help the fermentation process. These cultures react with the milk and begin the process of creating the sour, slightly tangy flavor that buttermilk is known for.
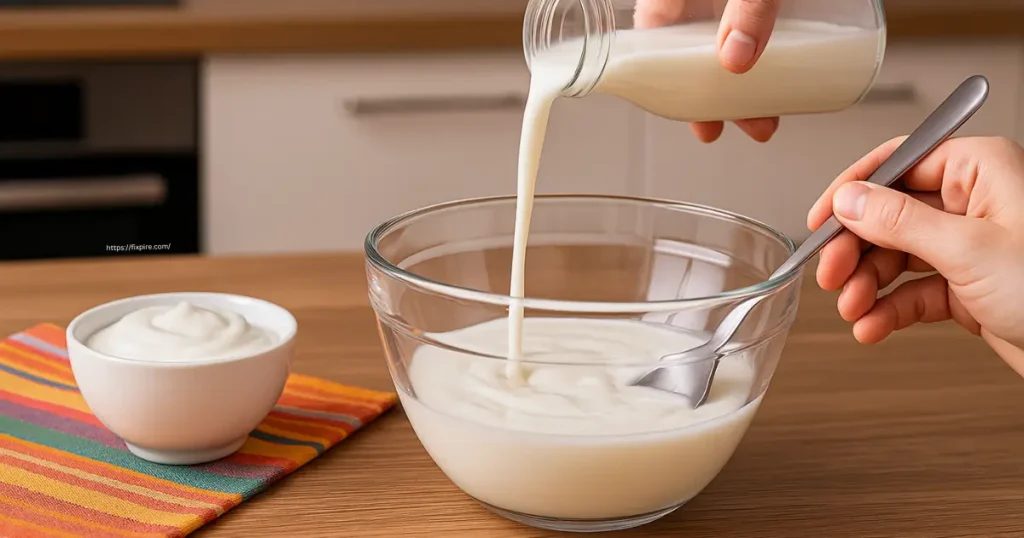
Step 3: Stir Well
Once the milk and yogurt are in the same bowl, use a spoon or whisk to stir the mixture thoroughly. Stirring thoroughly helps evenly spread the yogurt throughout the milk for proper fermentation. You want to see a smooth, slightly thicker consistency. This step is important because it allows the yogurt cultures to mix evenly and activate faster.
Make sure you don’t skip this step or rush through it. A good mix now means better texture and flavor later!
Step 4: Let It Rest
After stirring, cover the bowl lightly with a lid or plate and let it rest at room temperature. This is when the magic happens. Give the mixture about 10 to 15 minutes to settle and develop.
During this time, the good bacteria in the yogurt will start reacting with the milk. They break down the lactose in the milk, producing lactic acid, which gives buttermilk its signature sour taste and slightly thick texture. You don’t need to do anything during this step — just give it time to work.
If your kitchen is a bit cool, you can let it sit for up to 20 minutes. In warmer conditions, the mixture may be ready in as little as 10 minutes.
Step 5: Ready to Use
Once the resting time is done, give it one final stir. You’ll notice that the mixture has slightly thickened and smells a bit tangy — exactly how buttermilk should be. At this stage, your homemade buttermilk is all set and ready to use!
You can now pour it directly into your cake or pancake batter, use it as a marinade, or even enjoy it as a refreshing drink (especially in Indian cuisine, where this is common).
If you’re not using it immediately, store it in an airtight container and keep it in the refrigerator. When kept in the refrigerator, it stays good for up to 3 days. Just make sure to shake or stir it before each use.
By following this method, you’ve just made fresh, homemade buttermilk using only two ingredients. This technique is ideal for anyone looking for an easy buttermilk recipe at home, and it’s a fantastic option if you enjoy clean, natural cooking without preservatives or artificial ingredients.
Tips for Best Results
- Use fresh yogurt to ensure proper fermentation.
- Room temperature milk speeds up the process.
- For a thicker consistency, use full-fat milk.
Variations to Try
If you are interested in experimenting beyond the basic milk and yogurt version, there are several effective ways to make your own homemade buttermilk recipe using different ingredients. These methods are just as easy and allow you to adapt based on what you have in your kitchen.
1. Milk + Lemon Juice or Vinegar
This is one of the most common quick-fix options. Simply mix 1 tablespoon of lemon juice or white vinegar into 1 cup of milk. Leave the mixture undisturbed for about 10 to 15 minutes to let it develop properly. The acid will curdle the milk slightly and give it that familiar tangy taste, making it perfect for baking. This is an ideal choice when you don’t have yogurt.
2. Milk + Curd
This method is popular in Indian households. Whisk 2–3 tablespoons of curd (dahi) into a cup of water or milk, depending on whether you want a drink or a thicker version for recipes. It produces a classic, flavorful buttermilk using just milk and curd.
3. Milk + Buttermilk Starter
If you have some leftover homemade buttermilk, you can use 1 tablespoon of it in fresh milk to start a new batch. This works like a natural starter culture and gives excellent results.
Each variation offers flexibility, taste, and simplicity!
Why This Buttermilk Recipe Works
Acidity: Yogurt provides the right level of acid to help with rising in baked goods.
Texture: The result is creamy but light.
Taste: It’s tangy, just like traditional buttermilk.
How to Use Your Homemade Buttermilk
Now that you have mastered how to make buttermilk from milk and yogurt, it’s time to explore the many delicious and versatile ways you can use your fresh homemade buttermilk in the kitchen.
Baking is one of the most popular uses. Buttermilk brings moisture and a mild tanginess that helps baked goods rise soft and fluffy. Use it in pancakes, waffles, muffins, biscuits, and cakes to get a tender, fluffy texture and rich flavor. It works especially well in recipes that call for baking soda, as the acidity in buttermilk activates it for a perfect rise.
In cooking, buttermilk is excellent for preparing dishes like buttermilk fried chicken, dosa batter, or creamy soups. It helps tenderize meat while adding a gentle tang that balances spices and enhances the flavor of sauces and stews.
You can also use it for marinating. Soaking meats or vegetables in buttermilk before cooking makes them juicier and more flavorful. Its mild acidity helps break down proteins, resulting in a softer, more tender texture.
Finally, buttermilk makes a great smoothie base, adding a creamy texture and a refreshing tangy flavor. It pairs well with fruits like bananas, berries, and mangoes for a refreshing, nutritious drink.
With so many uses, homemade buttermilk is a handy ingredient to keep in your kitchen!
Cultural Twist: Buttermilk from Milk and Curd
In Indian kitchens, buttermilk from milk and curd is a daily staple. Here’s a twist:
- Whisk 1 cup of curd with 2 cups of water.
- Add a pinch of salt, cumin powder, and chopped coriander.
- Serve chilled — perfect for summer!
This version is thinner and usually served as a drink or digestive.
Conclusion
Making buttermilk at home is a simple, satisfying process. It requires no special equipment, just everyday ingredients and a few minutes of your time. Once you try this easy buttermilk recipe at home, you may never go back to store-bought versions.
So the next time a recipe calls for buttermilk, don’t panic. Simply follow this easy guide to make buttermilk from milk and yogurt, and you’ll be all set!