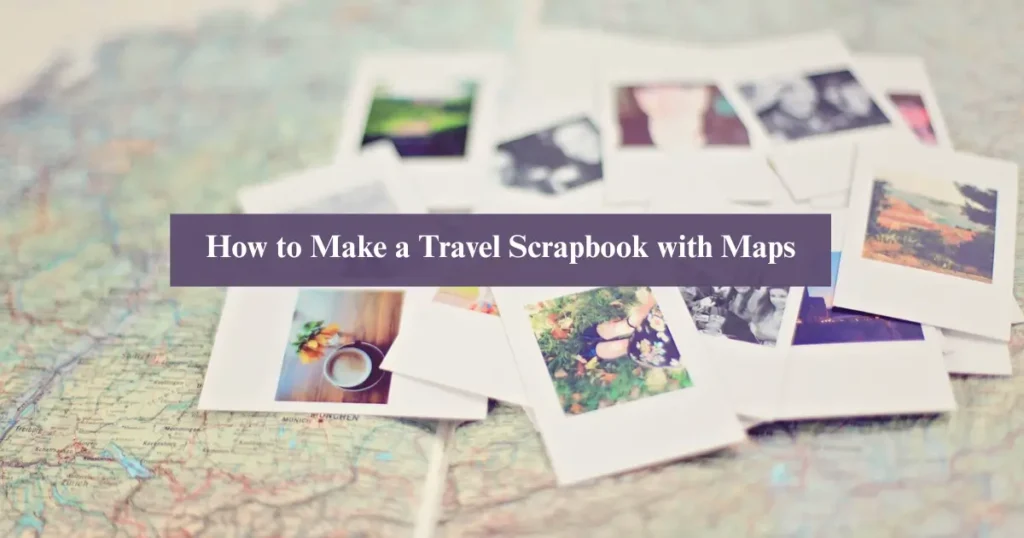
Whether you are a passionate traveler or just love reliving your adventures, learning how to make a travel scrapbook with maps and memories that last is one of the most creative and meaningful ways to preserve your journey. A travel scrapbook isn’t just a photo album—it’s a living, breathing storybook that captures the emotions, places, people, and magic of your travels in a way that a social media post never could. In this guide, you will discover how to turn your memories into a unique travel memory book with maps, giving your stories a special twist. By the end, you will know exactly how to organize your materials, design beautiful layouts, and use maps to turn your scrapbook into a map-themed travel journal that feels both artistic and personal.
Why Make a Travel Scrapbook?
Before we get into the DIY travel map scrapbook process, let’s take a moment to understand why creating one is such a worthwhile and fulfilling project.
A travel scrapbook carries deep emotional value. Scrolling through photos on your phone is fun, but it can’t match the joy of flipping through a handmade scrapbook filled with ticket stubs, handwritten notes, maps, and cherished mementos. It brings your memories to life in a much more personal and powerful way, allowing you to reconnect with the emotions and experiences of your journey.
It also serves as a wonderful outlet for creative expression. Each page gives you a chance to tell your story in your own style—through colors, stickers, drawings, quotes, and layout choices. It becomes a unique piece of art that reflects your personality and the spirit of your travels.
When it comes to preservation of moments, physical scrapbooks have an edge. Unlike digital files that risk being lost, deleted, or corrupted, a thoughtfully crafted scrapbook can be cherished and preserved for generations. It becomes a cherished heirloom that holds the stories of where you’ve been and what you’ve experienced.
Creating a travel scrapbook is also a mindful practice. It offers a calming, screen-free activity that encourages you to slow down, reflect, and be present. Putting together each page becomes a calming, joyful ritual—a creative way to relax and relive the beauty of your travels.
A travel scrapbook isn’t just a craft—it’s a meaningful, lasting tribute to the journeys that shape you.
Gather Your Supplies
To begin your journey in how to make a travel scrapbook with maps, you’ll need a few basic materials. Here’s a checklist:
✅ Essential Items:
- A blank scrapbook or binder with thick pages
- Printed travel photos
- City maps, transit maps, and old atlases make great visual additions.
- Scissors and glue sticks or double-sided tape
- Pens, markers, or journaling tools
✅ Optional (But Awesome):
- Washi tape and stickers
- Stamps and ink pads
- Postcards and tickets from your trip
- Pressed flowers or leaves
- Travel brochures
- Clear plastic pockets for small souvenirs
Tip: You can find old maps at thrift stores, bookstores, or even print them online for a personal touch.
Step-by-Step: How to Make a Travel Scrapbook with Maps
This is where the real fun begins—turning your travel memories into a beautiful, map-inspired keepsake that tells your unique story. Whether you’re a globe-trotter, road tripper, or weekend explorer, this step-by-step guide will help you create a stunning travel scrapbook with maps that captures every moment, mile, and memory.
Step 1: Choose Your Theme and Layout
Before you start cutting, gluing, and decorating, it’s essential to know what kind of story you want to tell. Ask yourself: What story or journey do I want this scrapbook to capture and celebrate?
Here are some creative theme ideas to help ignite your imagination:
- Countries visited: Dedicate a few pages to each country you explored.
- Chronological travel: Organize the scrapbook by the days or weeks of your trip.
- Thematic sections: Break your journey into themes—like food adventures, cultural experiences, nature, people, or transportation.
- One destination, many layers: If it was a single trip to one place, you can still divide it by activities, neighborhoods, or memories.
After selecting your theme, start by sketching a rough layout or plan for your scrapbook. It doesn’t have to be perfect—just something to guide your page flow. Decide how many pages you want per destination or event. Planning ahead helps reduce overwhelm and gives your scrapbook a cohesive look from start to finish.
Step 2: Pick Your Maps
Maps are the heart of your travel scrapbook’s visual theme. They not only enhance the aesthetic but also offer context and storytelling. You can use a wide variety of maps depending on what fits your journey best:
- City maps: Perfect for urban adventures and sightseeing.
- Country or regional maps: Perfect for extended journeys that span multiple regions.
- Subway or transit maps: Add a quirky, local touch for cities like London, Tokyo, or New York.
Creative ways to use maps in your scrapbook:
- Background pages: Use a full-size map as the background for a page, then layer photos and memorabilia on top.
- Cut-out shapes: Cut maps into hearts, circles, stars, or letters to decorate your pages.
- Highlight routes: Trace your travel routes with a pen, highlighter, or thin washi tape to add a fun and artistic flair.
- Map pins or dots: Use stickers, enamel dots, or small tags to highlight the places you’ve visited and add visual interest.
This step enhances both the beauty and narrative of your scrapbook, transforming it into a visual travel diary that vividly maps out your adventures.
Step 3: Arrange Your Photos
Photos are the soul of your travel scrapbook. They tell the real story, capturing emotion, environment, and experience. Once you’ve printed your favorite shots, it’s time to bring them to life on the page.
Tips for arranging photos creatively:
- Use a variety: Mix up portraits, landscapes, group shots, and spontaneous moments.
- Tell mini-stories: Create collages of 2–4 photos per location, each with a caption or date.
- Layer with purpose: Place photos beside the matching map sections, adding visual flow.
- Add personal captions: Handwrite a short note or story beside each photo. It makes the memory feel alive.
Pro tip: Keep it clutter-free. Aim for 3 to 5 photos per page, and don’t be afraid of white space. It keeps your pages clean and allows your images to shine.
Step 4: Add Memorabilia
What makes a travel scrapbook extra special? The little things. Memorabilia brings depth and a personal touch to your scrapbook. These keepsakes are tangible pieces of your journey and make your book more interactive and personal.
Here are some fun items to include:
- Boarding passes and flight tickets
- Train or bus stubs
- Restaurant menus or takeaway receipts
- Hotel key cards
- Museum or event tickets
- Currency or foreign coins
- Pressed flowers or leaves
- Postcards or handwritten notes
Attach these next to corresponding maps or photos. For example, place your boarding pass beside a map of your arrival city, or a museum ticket near the photo of your visit there. Use adhesive corners, glue dots, or mini paper clips for a charming and secure finish.
Step 5: Journal Your Experiences
Writing is what gives your scrapbook its heart. This is where your voice, emotions, and reflections shine. You don’t need to write an essay—just a few honest lines can turn a page from pretty to powerful.
What to write about:
- How you felt in each place
- What surprised you or made you laugh
- A moment of awe or peace
- A conversation with a local
- Something you learned or overcame
Don’t worry about grammar or writing perfectly. Just speak from the heart. Use colored pens, brush lettering, or typewritten strips if you want variety. This is your voice, your memory, your journey.
Step 6: Design Like a Pro
Now comes the artistic part—bringing your pages together in a way that’s visually stunning. With a few simple design tricks, you can make your travel scrapbook look polished and Pinterest-worthy.
Design tips to try:
- Layering: Stack photos, maps, and paper scraps to create visual depth and interest.
- Color themes: Match colors to your destination—blues and whites for Santorini, earthy tones for a desert trip, or greens for forest adventures.
- Borders and frames: Frame key elements with washi tape, hand-drawn lines, or sticker borders for extra flair.
- Interactive elements: Add small envelopes with hidden notes, tags that flip open, or mini fold-out pages.
- Stickers, stamps, and ephemera: Use travel-themed embellishments like airplanes, compasses, or passport stamps to decorate your pages.
Creating a travel scrapbook is not about being perfect—it’s about having fun and telling your story in a way that’s meaningful to you.
Step 7: Seal and Preserve
Once your pages are complete, it’s time to protect your beautiful creation. You’ve poured time, heart, and creativity into this scrapbook—let’s make sure it lasts.
Tips to preserve your travel scrapbook:
- Use plastic sleeves: Place your finished pages in protective sleeves to keep them safe from smudges, tears, and daily wear.
- Avoid direct sunlight: Store the scrapbook in a cool, dry place away from sunlight to prevent fading.
- Label your scrapbook: Add a title page or cover design with the year, destination, or a quote.
- Create a table of contents: Especially helpful for longer scrapbooks—add tabs or a mini index so you can easily flip to each part of your journey.
- Backup your memories: Consider scanning or photographing each page so you have a digital backup just in case.
Your Memory Book is Complete
Congratulations—you have just crafted a one-of-a-kind travel scrapbook with maps that tells the story of your journey like no digital album ever could. It’s more than a creative project; it’s a tribute to your adventures, your growth, and the joy of exploration.
This scrapbook will not only bring back beautiful memories but also inspire your next adventure. So pull it off the shelf anytime you need a little wanderlust, a smile, or a reminder of how far you have come.
Creative Travel Scrapbook Ideas with Maps
Looking to give your travel scrapbook an extra touch of magic? If you are ready to go beyond the basics, these creative ideas using maps will give your memory book a fun and artistic twist:
1. Map Mosaic
Cut old maps into small square or geometric tiles and arrange them to form a mosaic background. It adds texture and visual interest while keeping your travel theme front and center.
2. “Follow My Route” Flip Pages
Create foldable flip pages that gradually reveal your journey across a map. Each flap can represent a city, stop, or day—perfect for road trips or backpacking adventures.
3. Bucket List Checklist
Print a world or country map and mark places you’ve already visited. Add a checklist on the side for your “Still to Visit” dream destinations. It’s interactive, motivating, and perfect for goal-setters.
4. Photo Overlays on Maps
Print photos on transparent paper and layer them directly on top of map sections with clear tape or glue. It creates a dynamic, almost floating effect that blends your memories with the places.
5. Travel Quote Pages
Use faded or watercolor-style maps as backgrounds, and overlay your favorite travel quotes with hand lettering or stylish printed fonts. It brings inspiration and personality to your scrapbook pages.
Bonus: Make It a Map-Themed Travel Journal
Looking for a travel keepsake that’s both creative and practical? Transform your scrapbook into a map-themed travel journal—a dynamic keepsake you can update as you explore. It’s perfect for travelers who want to capture memories in real-time without the pressure of finishing everything in one sitting.
Here’s how to get started:
- Choose a journal with pre-printed map designs or use map-themed washi tape and stickers to decorate plain pages. You can even glue in your own mini maps for a personalized touch.
- Write daily entries while you travel. Jot down your thoughts, moments of joy, unexpected events, or what made each place special.
- Sketch moments and people you meet—like a lively market, a glowing sunset, or a kind street vendor. Artistic or not, these doodles add charm.
- Stick in mementos like local maps, metro passes, receipts, or quick polaroids as you go.
The beauty of this hybrid journal is that it grows with your adventures. No need to finish it all at once—just add bits and pieces over time. With each trip, you will fill more pages, turning it into a personal atlas of your travels and memories.
Tips to Keep Your DIY Travel Map Scrapbook Fun and Stress-Free
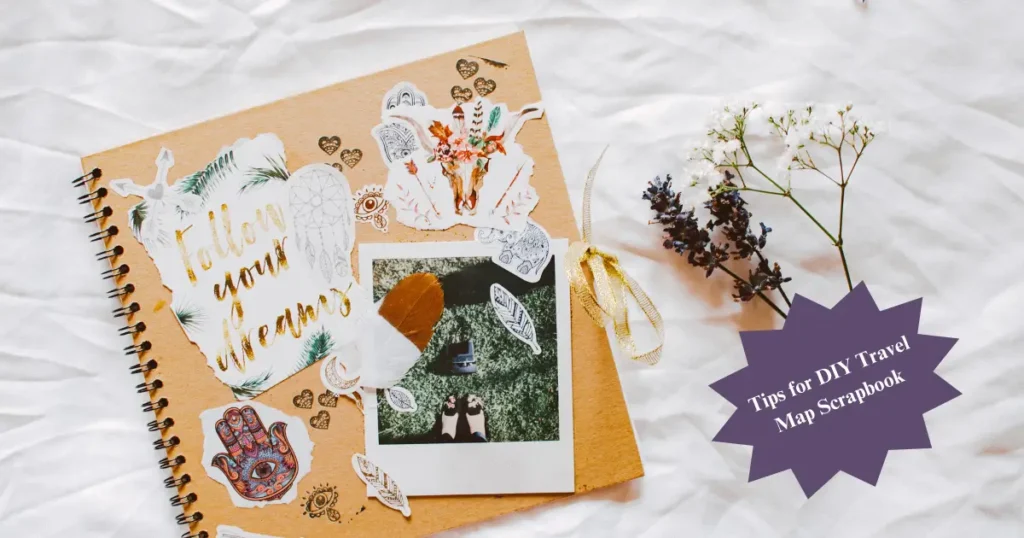
Creating a travel scrapbook should be an enjoyable and fulfilling experience—not a stressful one. These simple tips will help you stay relaxed, inspired, and organized as you build your travel memory book with maps.
1. Don’t Aim for Perfection
One of the biggest myths about scrapbooking is that everything has to be perfectly aligned, styled, or curated. In truth, it’s the little imperfections that make your scrapbook feel genuine. A crooked photo, a smudged ink mark, or uneven handwriting adds personality and charm. Let your scrapbook be a creative expression, not a flawless masterpiece.
2. Create a Travel Scrapbooking Kit
Keep all your tools—scissors, glue sticks, pens, stickers, washi tape, printed photos, and map cutouts—in a dedicated box or pouch. Having everything in one place makes it easy to sit down and start crafting whenever inspiration strikes.
3. Print Photos Soon After Trips
The sooner you print your photos, the easier it is to recall the little details and emotions behind them. This keeps your creativity flowing and makes it easier to journal your experiences while they’re still fresh in your mind.
4. Scrapbook in Small Chunks
You don’t have to finish the whole project in one sitting. Break it down—focus on one page, city, or memory at a time. This keeps the process fun and manageable.
5. Use Music as Inspiration
Play travel-themed playlists or songs that remind you of your trip. Music can set the mood and trigger beautiful memories as you work on each page.
Let your scrapbook evolve with joy and freedom.
How to Make a Travel Scrapbook with Maps as a Family Activity
Making your travel scrapbook a family project is a fun way to relive your adventures and enjoy some creative bonding time. Whether you are crafting with your kids, partner, or the whole family, it’s a fun and meaningful way to reflect on your journey together.
Here’s how to make it collaborative:
- Get the Kids Involved: Let them decorate pages with stickers, doodles, or their own drawings of favorite sights, foods, or animals from the trip. They can even color in printed maps or trace your route.
- Add Multiple Perspectives: Encourage each family member or partner to write their own short journal entries. Different viewpoints—whether it’s what someone found funny, challenging, or beautiful—add depth and personality to your scrapbook.
- Create a “Top 10” Page Together: As a group, vote on the best moments of the trip. It could be the best meal, funniest incident, or most surprising discovery. Make a dedicated “Top 10 Travel Moments” page with photos, drawings, or cutouts to match.
- Make It a Fun Scrapbook Night: Gather around the table with snacks and music from your trip, and make crafting a mini event.
Not only will you end up with a beautiful memory book, but also new memories of creating it together—a keepsake within a keepsake.
Conclusion: Your Story Deserves a Place on Paper
In a world of fleeting Instagram stories and endless scrolling, creating a travel scrapbook with maps and memories that last is a powerful way to honor your adventures. You are not just gluing down photos—you’re building a legacy of wanderlust, love, and learning. So grab your maps, print out those photos, and begin crafting your travel story. Whether it’s a map themed travel journal or a detailed DIY travel map scrapbook, what you make is something no one else in the world can.
Your memories are precious. Let them live forever—on paper, through maps, and in your heart.